Making Teapots
A teapot is a difficult thing to make well; yet, partly because of
this, and partly, I think, because the teapot is such a deep-rooted,
integral part of our daily lives, few things can give a potter more
satisfaction. But the task bristles with difficulties for the unwary,
and I hope the following points of advice will be helpful.
First of all a teapot needs to be fairly broad. One which is
relatively tall and narrow does not infuse so well nor so quickly.
There will be those who dismiss this belief as a pretty conceit.
Nevertheless, it is my firm opinion. So allow for a generous cross-
sectional area of liquid at the surface when the pot is full. Throw
the body of the pot fairly thinly; a heavy, chunky teapot is unlikely
to be popular. Make sure the base is sufficiently broad for stability.
Nothing is more irritating than a pot which wobbles and tends to
topple over when the cosy is lifted off. Keep the opening at the
top as small as possible compatible with easy filling and cleaning.
If it is too wide, too nearly the diameter of the pot at the shoulder,
a sudden tilt, as if to pour, when the pot is full, will cause the tea
to well out under the lid. Leave a slight thickening at the top of
the wall so that, when the shoulder has been turned over, there is
sufficient clay in which to form the gallery for the lid. I find the
best way to perform this operation is to pinch the clay gently at the
edge of the opening between the first finger of the left hand, below,
and the thumb, held vertically with nail outwards above. The
thumb then bears down into the clay at the edge of the opening and
is aided by a slight squeezing by the finger below. When the
gallery is thus formed, the inside edge should be compressed and
consolidated or it will surely chip. For the same reason be sure the
gallery is reasonably thick.
Next throw the spout and the lid. This is where difficulties
which may be experienced at later stages originate. It requires
imagination and skill to throw these parts separately so that, when
they are merged with the body, the pot becomes a coherent, unified
whole-not a jumble of unrelated components. It is true that, for
instance, one can trim a spout that has been thrown too long; but
only at the expense of altering its diameter at either the tip or the
base, which will upset the proportions of the pot in either case. I
find it best to throw the spout on a thick base. This keeps it in
shape when it is taken from the wheel, and the base is cut off when
the clay has stiffened sufficiently for the spout to be trimmed and
luted to the body. One of the secrets of good pouring is to ensure
that a pressure of liquid is built up in the spout. If this is not the
case, the tea merely wobbles over the end. The spout should
therefore taper and the cross-sectional area of the tip should be less,
though not much less-than the total cross-sectional area of the
holes which will form the strainer.
It is best to throw the lid very slightly larger than the socket
into which it is to fit, to allow for a small amount of turning at the
cheese-hard stage. There is no excuse for badly fitting lids in hand-
made pots. For this reason, I often turn the inside of the gallery
to make sure of a neat angle, although this operation should be
completed as far as possible at the throwing stage. At no time is
the turning tool more potentially a vice than when making a teapot.
If the lid is to have a flange, make sure this is sufficiently deep and
fits the inside of the gallery closely. If this is so the lid will remain
in place when the pot is tilted steeply. If there is not to be a flange,
the lid ought to be seated rather deep in the gallery, and it may be
necessary to resort to the common locking device to ensure that the
lid remains in place. Remember that a lid which fits perfectly
when it and the body of the pot are cheese-hard will be a little on
the loose side when both are dry. This is the condition to aim for,
as the slackness will be taken up by the thickness of the glaze.
A lid with a flange is thrown upside down and the knob turned
out of the thick base or luted on separately afterwards. A lid
without a flange is usually thrown right way up. In either case do
make the knob or handle something worth getting hold of. To
have to squeeze a knob hard to lift the lid-especially when it is
hot-is an abomination. It should be possible to raise it securely
with the lightest grasp. Don't forget the vent in the lid to act as an
air intake when pouring. If you do forget it and the lid is as good
a fit as it should be, the pot won't pour-except out of the lid.
Make this vent fairly generous. A tenth of an inch is hardly too
big: and when you glaze the pot, remove the glaze very thoroughly
from this hole or it will clog in the firing and have to be drilled out.
When the spout is leather-hard (it will dry more quickly than
the pot, so you will have to slow down its drying), cut it from the
base on which it was thrown and trim the lower end with a needle
or a narrow, thin pallet knife, so that it will fit the profile of the pot
when held inclined at the right angle. When this is so it is vital
that the lower edge of the tip of the spout is above the level of the
lid. I have seen many teapots made by potters of high reputation
in which this point was not observed. Yet a person filling a pot
watches the level inside the pot-not the spout-and if the tip is
below the level of the lid, tea will dribble out when the pot is filled.
Holding the spout in its correct position against the wall of the
pot, lightly trace the outline of the base on to the wall with a pointed
instrument. Then, allowing for the thickness of the spout wall, punch
the holes for the strainer. In most pots these are either too few or
too small. One-eighth of an inch is about right for the diameter.
If larger they will not arrest the leaves. If smaller they will
gradually clog in use. The spout ought not to be positioned too
low because, although this will help to create pressure in the spout
when pouring, as mentioned before, the tea leaves will settle and
clog the strainer. A very thin, hollow tube is useful for boring the
holes, but a solid instrument will do. I use a tool which comes in
useful for all kinds of work-a discarded dentist's chisel with the
operating end sawn off and the neck filed to a tapering point.
any case the tool should be wetted and pushed through the clay wall
with a twisting motion and any ragged clay edges thrown up on the
inside severely left alone until dry, when they can be neatly flicked
off and the whole area sponged over.
Next scratch up the area round the strainer where the joint is
to be and rub in some thick slip. Lightly wet the butt end of the
spout and press it firmly home, thoroughly consolidating the joint.
Depending upon the nature of the body and the temperature
employed, spouts will tend to twist clockwise in the firing-the
opposite way to what one would expect. Therefore, to counteract
this, they should be attached to their pots in a position slightly
counter-clockwise of that required in the finished pot. Only
experience can decide the degree of compensation necessary. I so
shape the spout and model it on that it grows smoothly out of the
body of the pot and makes a continuous unbroken line with it. A
friend of mine argues that, since the spout is attached to the pot
and not formed in one piece with it, it should look attached. No
doubt this is logical: but perhaps it is a little too logical. After all,
most of us make our handles grow out of our jugs and mugs; so
why not spouts also. As soon as the spout is in place, the tip can
be finally trimmed and smoothed to shape. The lower edge should
be reasonably sharp to aid clean pouring: but remember that clay
does not take kindly to sharp edges and is easily chipped. Do not
overdo it therefore. If possible arrange for a small overhang on
the lower edge. It will greatly improve pouring. But too much
is very ugly.
The handle of a teapot is very important. Not only must it
fulfil its purpose efficiently and comfortably, but its form and the
area of void its loop encloses must balance the spout. On a
medium sized pot it should be possible to get three fingers
comfortably through the loop, the thumb being above and the fourth
finger below. On a larger pot the loop should be large enough for
four fingers. You will very likely find that, to form a comfortable,
efficient hold, the handle looks wrong on the pot or vice versa, in
which case you may have to re-design the whole thing. This sort
of difficulty is implicit in the nature of design and craftsmanship
and it is no good being afraid of it. Preliminary pencil sketches will
help; but do not allow yourself to become a slave to paper designs.
They militate too much against the freedom and spontaneity the
thrown shape should always have.
Generally speaking, the handle should approximate to a flat
oval in section and should be reasonably broad for a good, comfort-
able grip. If you are going to have an overhead cane or clay
handle, make sure that it does not interfere with the easy removal
of the lid and is so proportioned and attached that the pot handles
easily. The attraction of the overhead handle is no reason or
compensation for inefficiency in the pot as a whole.
The glazing of teapots is not altogether straightforward. I
glaze the inside first by pouring in some glaze and pouring it out
again by way of the spout. Then quickly, while the glaze is still
wet, I put the spout in my mouth (lead glazers take care!) and blow
sharply down it. This removes excess glaze from the strainer holes
where it tends to accumulate and would, on firing, stop them up
altogether. To glaze the outside, I stop the spout with a conical
plug of soft clay and, gripping the pot by expanding my fingers inside
it, I plunge it into the glaze until the level rises to the edge
of the lid opening. I usually have to miss a bit here in order to be
certain that the glaze does not trickle over the rim and down inside
the pot. So the rim has to be touched up afterwards with a brush;
likewise the tip of the spout where the plug of clay has been.
With stoneware teapots, where the danger of warping is
considerable, it is best, to obtain well-fitting lids, to fire the pots
with their lids in place. This means not glazing the gallery and the
underside of the rim of the lid. But with a vitrified body this is of
no account. In order to get a particular glaze effect, most of my
pots are fired in excess of 13500C and in a reducing
atmosphere for much of the time. This, together with open firing
and finishing with wood, is inclined to seal lids firmly in their
sockets. To prevent this, I have found it effective to baste the
inside of the gallery with a thin wash of quartz and water before
putting the lid in place. The quartz coagulates but does not fuse
and can be scraped out afterwards.
The making of a teapot, then, is quite a precision job. A
possible danger is that it becomes over-precise, giving that over-
planned, over-constructed and stark effect from which so many
commercial pots suffer. Precision of the right sort comes naturally
from the foundation of firm discipline in throwing and handling
one's tools and from the knowledge and mastery of clay and its
whims. Only when freedom superimposes itself unconsciously
upon a foundation of sound discipline and technique, so well
learned that it has become second nature-only when the potter, while remaining aware of the need for such discipline, can be
unconscious of its actual maintenance while exercising his free will
can we secure to the full those sualities of life and inevitability
which we rightly look for in hand-made pots.
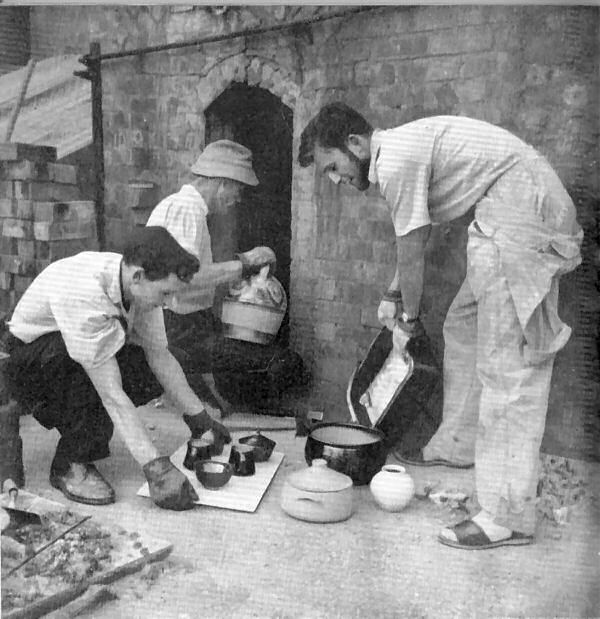
Unpacking the kiln at Avoncroft Pottery in 1958.
Geoffrey Whiting at the kiln entrance with Alan Gayden and and Michael Bailey.

Avoncroft Pottery advert, Pottery Quarterly, Autumn 1955.
Geoffrey Whiting Pots
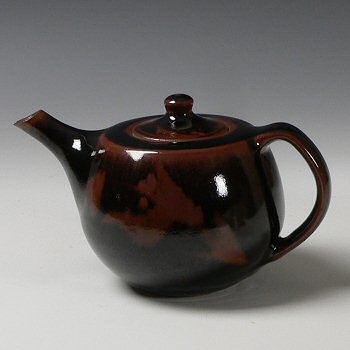
Teapot, 13cm tall
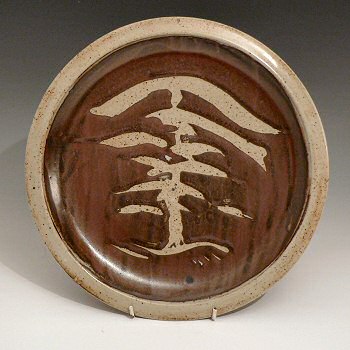
Wax resist charger, 31cm diameter
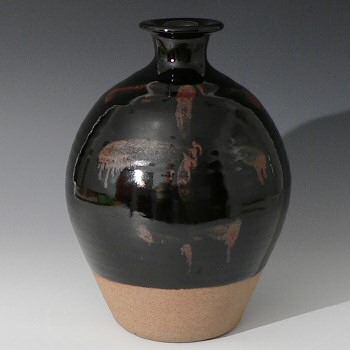
Large bottle vase, 32cm tall
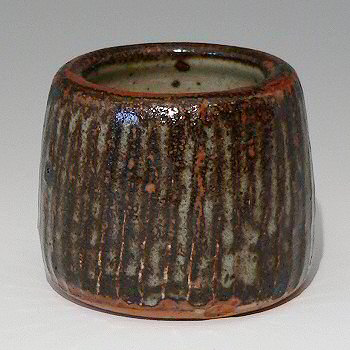
Brush pot, 6cm tall
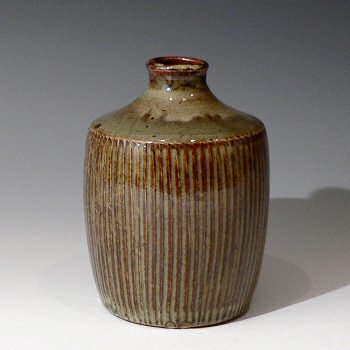
Fluted bottle, 17cm tall
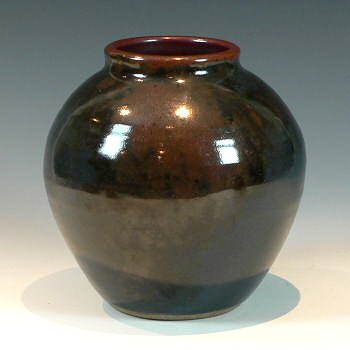
Globular vase, 19cm tall
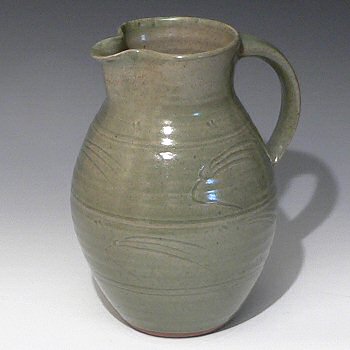
Large jug, 27cm tall
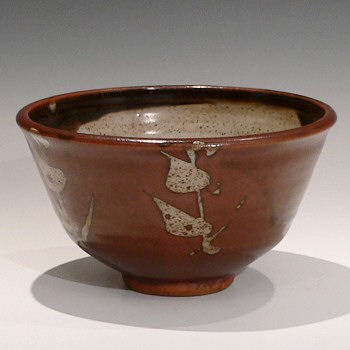
Wax resist bowl, 19cm diameter
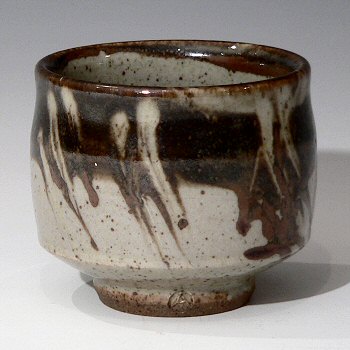
Teabowl, 7.5cm tall
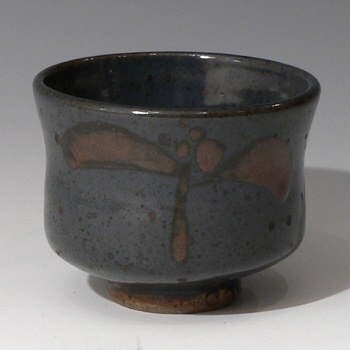
Teabowl, 8cm tall
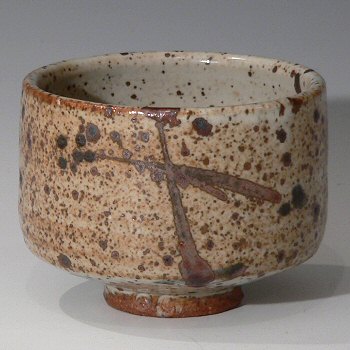
Teabowl, 7cm tall
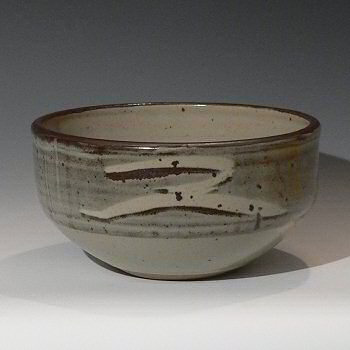
Fruit bowl, Z pattern, 26cm diameter
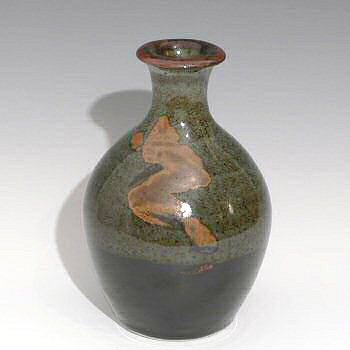
Vase, 21cm tall
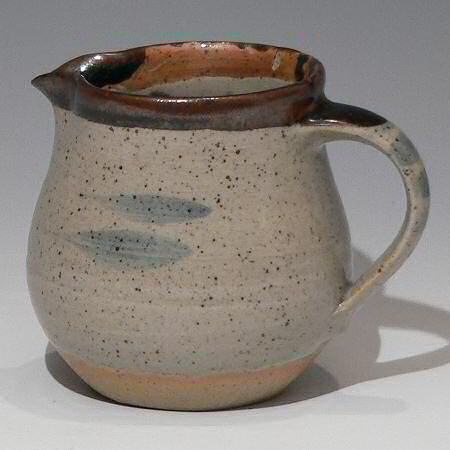
Standard ware cream jug, 11cm tall
